将容器化应用部署到 Azure
在本指南中,您将学习如何
- 为应用程序创建容器映像。
- 将映像推送到容器注册表。
- 将映像部署到 Azure App Service 或 Azure Container Apps。
先决条件
- Azure 订阅。
- 必须安装 Container Tools 和 Azure App Service 扩展。
- 一个会生成容器映像的 Web 应用程序。你也可以按照创建 ASP .NET Core 示例应用程序来创建此类应用程序。
- 你需要一个 Docker Hub 帐户或一个 Azure Container Registry (ACR) 实例。
创建应用程序映像
如果你已有映像,请跳过此步骤,然后继续执行将映像推送到容器注册表步骤。
-
在 VS Code 中打开应用程序文件夹。
-
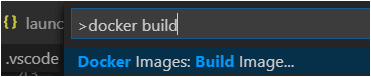
打开命令面板(⇧⌘P (Windows, Linux Ctrl+Shift+P)),然后使用 Container Images: Build Image... 命令来构建映像。
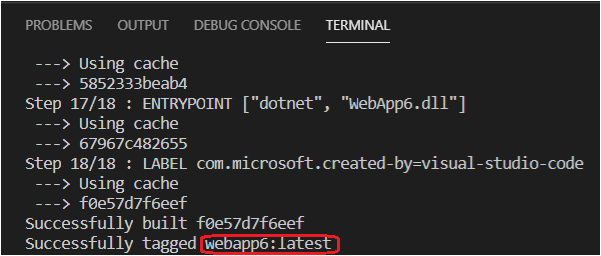
你可以在 Build Image 命令的输出中找到映像名称,在 Container Explorer 的 Images 窗格中也可以找到相同的信息。
将映像推送到容器注册表
在将映像部署到 App Service 或 Container App 之前,必须将映像上传到容器注册表。可以将映像上传到 Azure Container Registry (ACR) 或 Docker Hub。
-
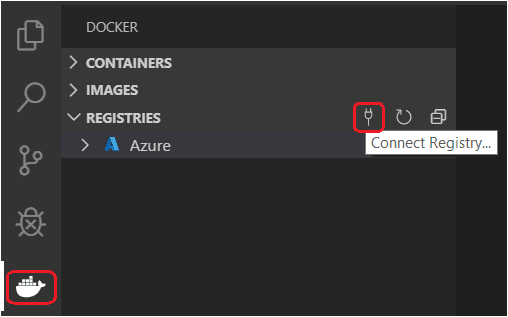
打开 Container Explorer,选择 Registries 组下的 Connect Registry... 图标,然后按照提示操作。选择提供商(Azure 或 Docker Hub)并提供凭据以连接到注册表。
-
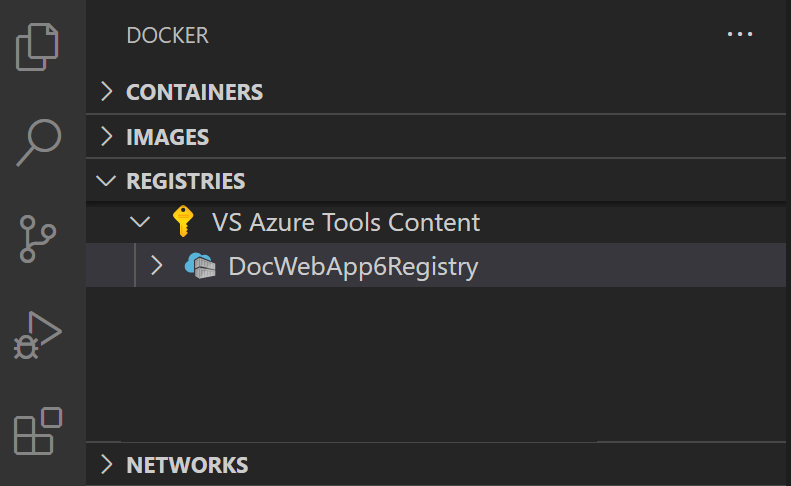
现在,注册表将在 Registries 下可见。
-
可以选择性地标记映像。为了将映像上传到注册表,需要使用注册表名称来标记映像,这样
docker push命令才能将其上传到正确的注册表。-
若要在 Azure ACR 中创建注册表,请打开 Container Explorer 的 Registries 部分,如果尚未登录,请登录 Azure,然后右键单击要使用的订阅,并选择 Create Registry。
-
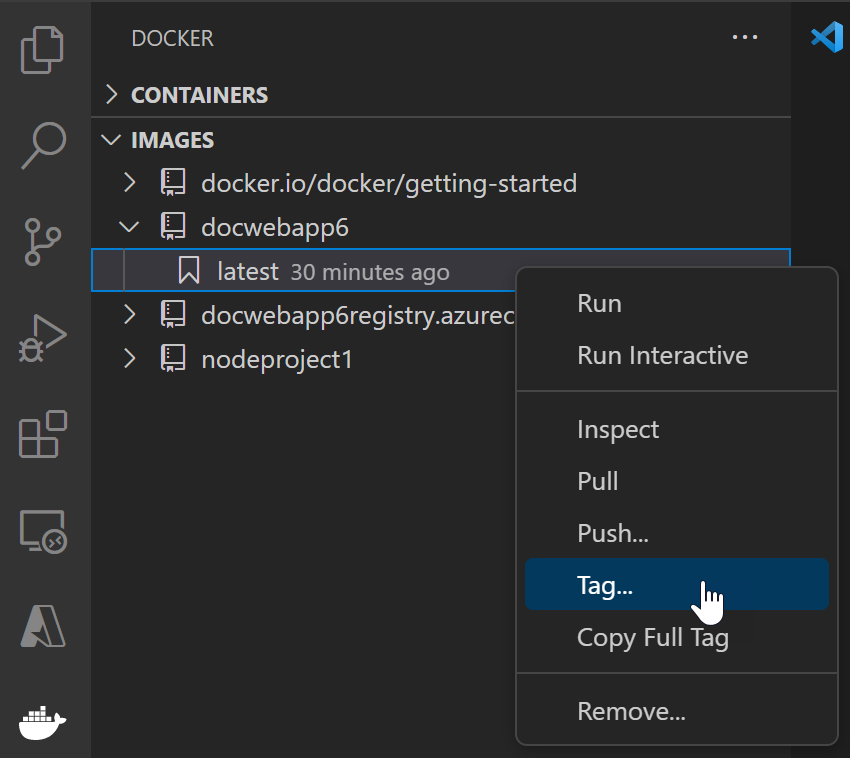
在上一步中构建的映像将出现在 Container Explorer 的 Images 部分下。右键单击并选择 Tag...。
-
指定新名称
<your registry or username>/<image name>:<tag>并完成标记操作。例如,名为 WebApp6 的 ACR 的新映像名称将是 'webapp6.azurecr.io/webapp6:latest',而对于 Docker Hub,它将是 'myusername/webapp6:latest'。
-
-
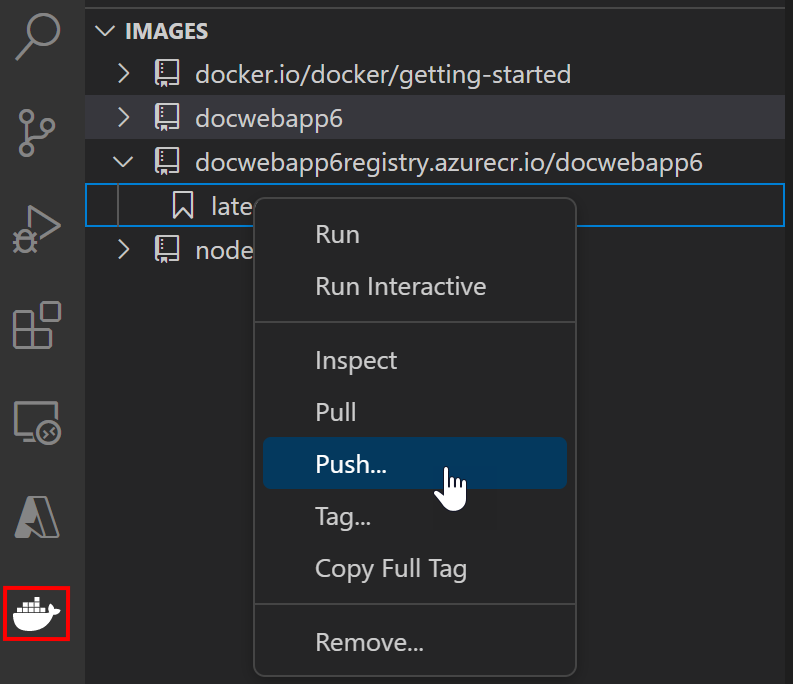
映像将显示在 Container Explorer 中,位于映像标记指向的注册表下。选择此映像并选择 Push。如果映像尚未标记,系统将提示你选择要推送到的注册表,并将根据所选内容标记映像。
-
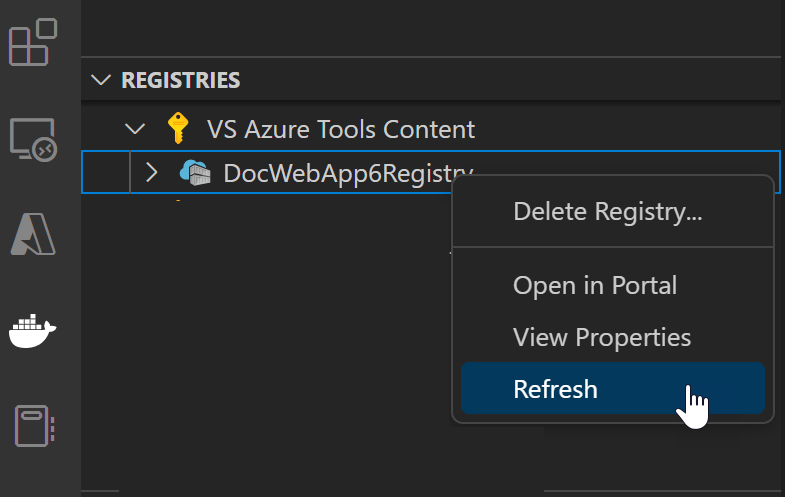
推送命令完成后,刷新映像推送到的注册表节点,上传的映像将显示出来。
将映像部署到 Azure
在上一部分中,映像已推送到远程容器注册表。现在,将此映像部署到 Azure App Service 或 Azure Container Apps。
-
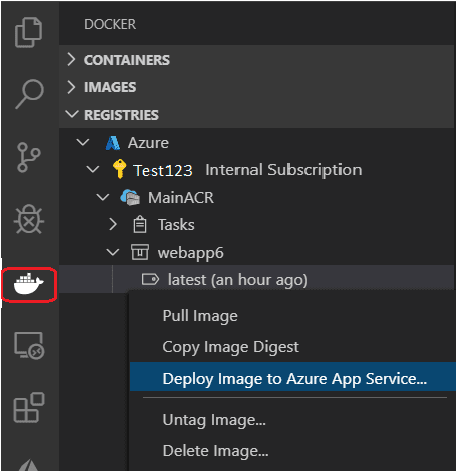
在 Container Explorer 中,导航到 Registries 下的映像,右键单击标记,然后选择 Deploy Image To Azure App Service... 或 Deploy Image to Azure Container Apps...。
-
出现提示时,为 App Service 或 Container App 提供值。
- 新建 Web 应用名称:名称在 Azure 中必须唯一。
- 资源组:选择现有资源组或创建一个新资源组。
- App Service 计划:选择现有的 App Service 计划或创建一个新计划。(App Service 计划定义了托管网站的物理资源;你可以为此教程使用基本或免费计划层。)
-
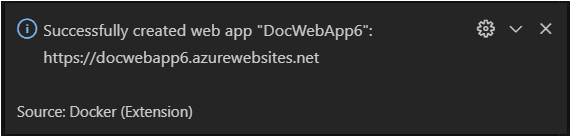
部署完成后,Visual Studio Code 将显示一个包含网站 URL 的通知。
-
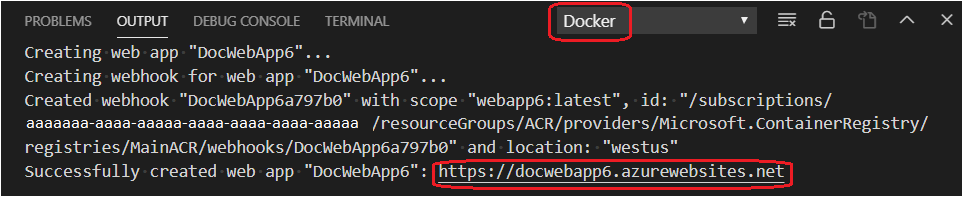
你也可以在 Visual Studio Code 的 Output 面板的 Container Tools 部分中查看结果。
-
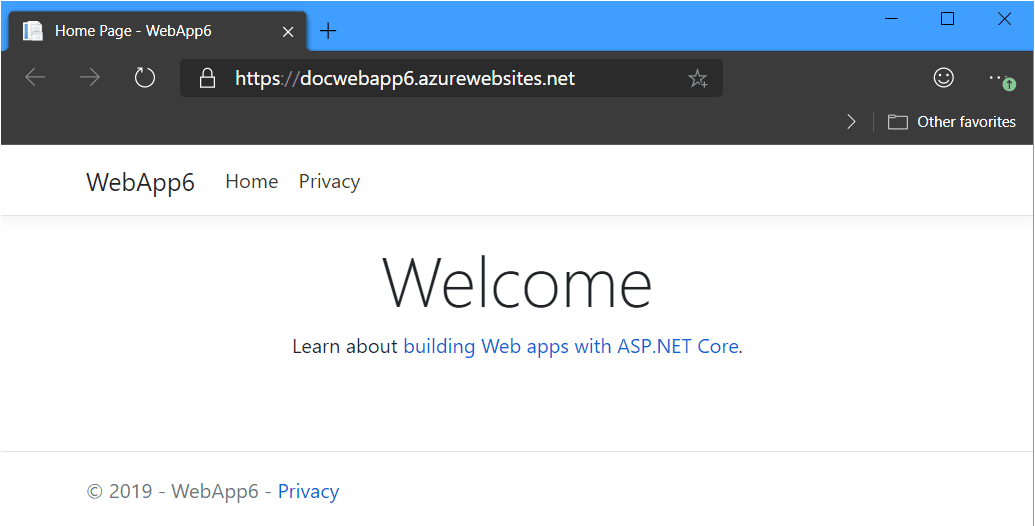
要浏览已部署的网站,可以使用 Ctrl+click 在 Output 面板中打开 URL。你可能需要等待一段时间才能在 Azure 中访问该应用。新的 App Service 或 Container App 也会出现在 Visual Studio Code 的 Azure 视图中,你可以在其中右键单击网站并选择 Browse Website。
后续步骤
继续阅读以了解更多信息
- Azure 扩展 - VS Code Marketplace 包含数百个用于 Azure 和云的扩展。
- 部署到 Azure - 逐步了解如何将您的应用程序部署到 Azure。
- 使用 MongoDB - 在 VS Code 中创建、管理和查询 MongoDB 数据库。